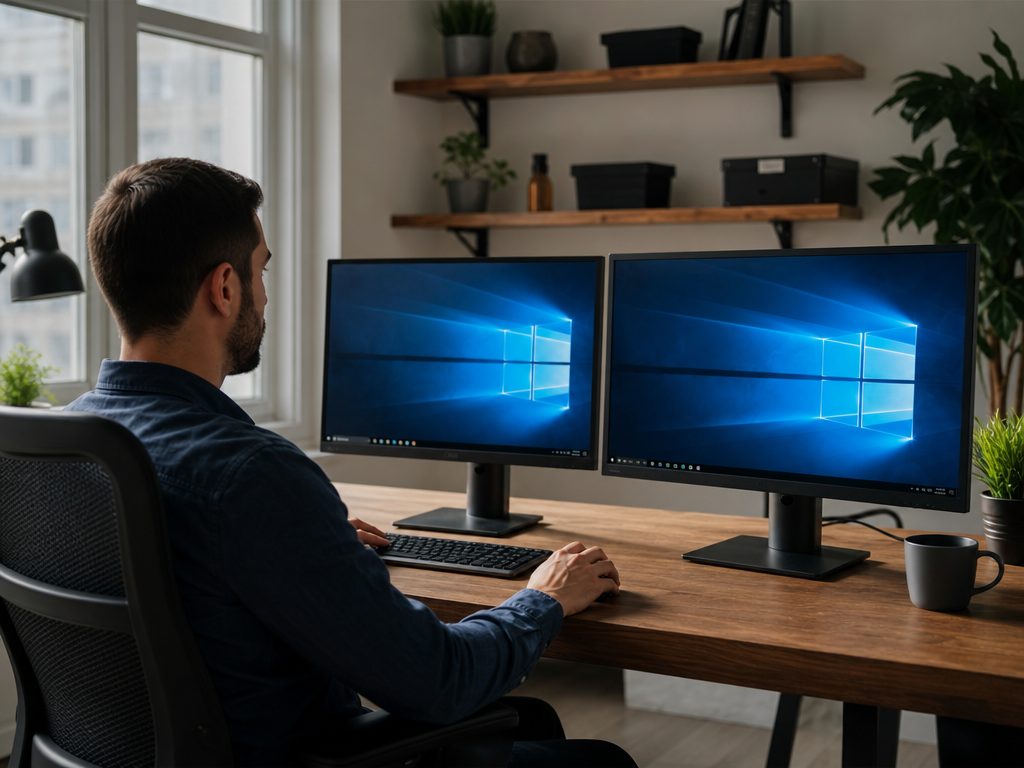
1. Assessing Graphics Hardware and Port Capabilities
Before purchasing a second screen or attempting to connect hardware, you must evaluate your computer's graphical capabilities and available physical ports. Computers rely on either integrated graphics (built into the CPU, such as Intel UHD or AMD Radeon Graphics) or dedicated graphics cards (discrete GPUs from NVIDIA or AMD). While most modern dedicated GPUs easily support four or more displays, older or budget-oriented integrated graphics solutions may be limited to two or three active screens. To verify your graphics card's maximum display limit, consult the manufacturer's technical specifications database.
Examine the back of your desktop tower or the sides of your laptop to identify your video output ports. The most common modern interfaces are HDMI (High-Definition Multimedia Interface) and DisplayPort (DP). Laptops frequently utilize USB-C or Thunderbolt ports that support DisplayPort Alternate Mode, allowing them to output video signals over a USB connection. Legacy systems may still feature DVI (Digital Visual Interface) or analog VGA ports. If your graphics card supports Multi-Stream Transport (MST) via DisplayPort, you can utilize daisy chaining—a method where you connect the computer to the first monitor, and then connect the first monitor directly to the second monitor using a DisplayPort cable, significantly reducing desktop cable clutter.
Sources: support.microsoft.com
2. Choosing the Right Cables, Adapters, and Bandwidth Standards
To achieve optimal image quality and performance, you must select the correct cables and adapters. HDMI 2.0 and DisplayPort 1.2 are standard for 1080p and 1440p displays at standard refresh rates. However, if you are driving a 4K monitor or a high-refresh-rate gaming display (such as 144Hz or 240Hz), you will need HDMI 2.1 or DisplayPort 1.4 cables to ensure sufficient bandwidth. Avoid using low-quality or uncertified cables, as they can cause screen flickering, signal dropouts, or restricted resolution options.
If your computer and monitor do not share matching ports—for example, if your laptop only has USB-C ports and your monitor only accepts HDMI—you must use an adapter or a specialized conversion cable. When adapting signals, understand the difference between passive and active adapters. Passive adapters rely on the source port (such as a DisplayPort++ port) to convert the signal internally. Active adapters contain an integrated circuit chip to actively translate the video signal, which is highly recommended for converting DisplayPort to HDMI or when connecting multiple legacy monitors to a single graphics card. Once you have the correct cables, firmly plug them into both the computer and the monitors, connect the power cables, and turn on all devices.
Sources: support.microsoft.com
3. Physical Placement, Ergonomics, and Desk Layouts
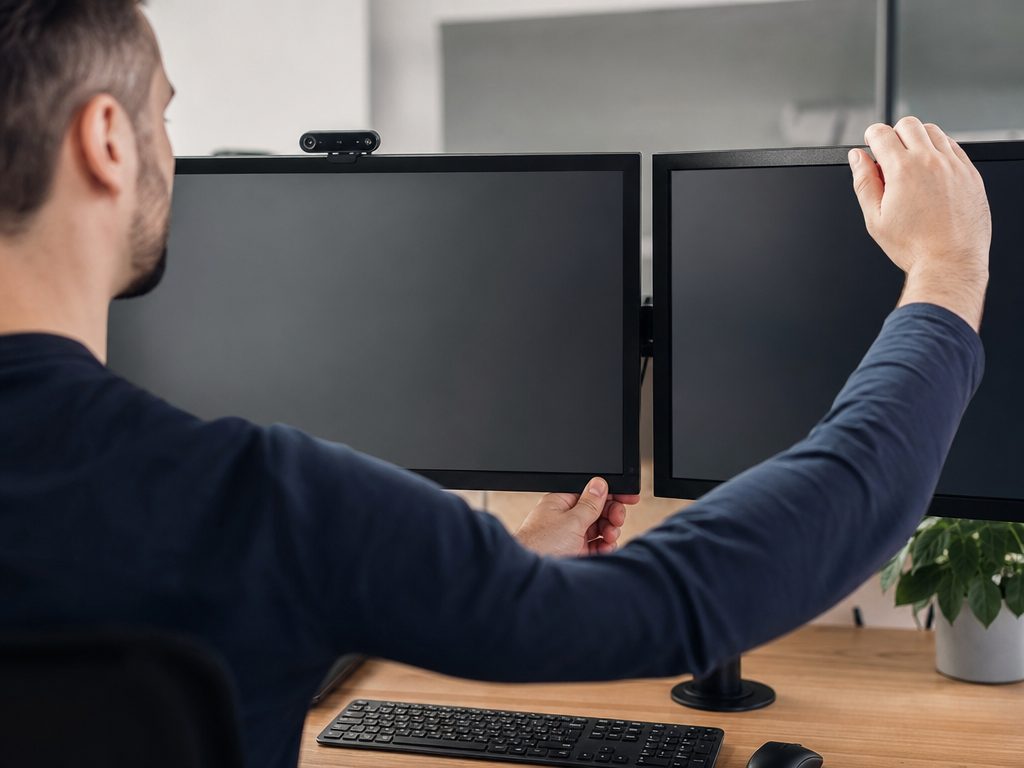
The physical arrangement of your dual monitors directly impacts your posture, comfort, and productivity. To prevent neck and eye strain, position your primary monitor directly in front of you at an arm's length distance (approximately 20 to 30 inches). The top of the screen should sit at or slightly below eye level. Your secondary monitor should be placed immediately adjacent to the primary screen, angled slightly inward to create a cohesive, curved viewing arc that minimizes head rotation.
Depending on your workflow, you may choose between a horizontal or vertical orientation for your secondary display. A horizontal layout is ideal for side-by-side multitasking, such as referencing a document on one screen while writing on the other. Alternatively, a vertical (portrait) orientation is highly beneficial for software developers, writers, and data analysts, as it allows you to view long blocks of code, articles, or spreadsheets without constant scrolling. Utilizing a dual-monitor desk mount or articulating arm can free up valuable desk space and provide precise control over height, tilt, and rotation.
Sources: support.microsoft.com
4. Initial Software Connection and Display Detection
Once your monitors are physically connected and powered on, Windows 10 should automatically detect the new hardware and extend your desktop. If your secondary monitor remains black, displays a "No Signal" message, or is not represented in the Display settings diagram, you must perform systematic troubleshooting. Start by clicking the "Detect" button located directly beneath the visual display diagram in the Display settings menu. This forces Windows to scan for newly connected hardware.
If the system still fails to recognize the monitor, verify that the monitor is set to the correct input source (e.g., HDMI 1 or DisplayPort) using the physical buttons on the monitor's frame to access its On-Screen Display (OSD) menu. Hardware handshakes can occasionally fail due to driver conflicts or outdated software. Right-click the Start button and select "Device Manager." Expand the "Display adapters" section, right-click your graphics card (such as NVIDIA GeForce, AMD Radeon, or Intel Iris Xe), and select "Update driver." If problems persist, visit the official website of your graphics card manufacturer to download and perform a clean installation of the latest driver package.
Sources: support.microsoft.com
5. Arranging and Aligning Displays in Windows 10
To ensure that your mouse cursor moves logically and seamlessly from one screen to the next, you must configure Windows 10 to match the physical layout of your desk. Right-click on an empty space on your desktop and select "Display settings" from the context menu. This action opens the System Display menu, where you will see a visual diagram representing your connected monitors, labeled with numbers.
If you are unsure which virtual box corresponds to which physical monitor, click the "Identify" button. A large number will temporarily flash on each physical screen. Click and drag the numbered boxes within the settings window to match their physical layout on your desk. For example, if your secondary monitor is positioned vertically or sits to the left of your primary screen, drag the corresponding box to match that exact position. If your monitors have different physical sizes or resolutions, align the tops, bottoms, or centers of the virtual boxes so that the mouse cursor does not get "stuck" at the borders when transitioning between screens. Once the alignment is precise, click the "Apply" button to save the layout.
Sources: support.microsoft.com
6. Choosing the Right Display Mode for Your Workflow
Windows 10 offers four distinct projection modes to control how your desktop is distributed across your screens. You can quickly cycle through these options at any time by pressing the Windows Logo Key + P on your keyboard, which opens the "Project" sidebar menu. The four available modes are:
1. **PC screen only**: This mode disables your secondary monitor, routing the entire video signal to your primary display. It is useful for saving power or eliminating distractions when the second screen is not needed.
2. **Duplicate**: This mirrors your primary screen exactly onto the secondary monitor. This mode is highly beneficial for presentations, classroom teaching, or sharing your screen with an audience via a projector or TV.
3. **Extend**: This is the optimal setting for daily multitasking and productivity. It treats your secondary monitor as an expanded canvas, allowing you to drag open windows, browser tabs, and applications across the boundary of your screens to work on multiple tasks simultaneously.
4. **Second screen only**: This disables your primary display (such as a laptop screen) and projects your desktop exclusively onto the external monitor, which is ideal when using a laptop docked with an external keyboard and mouse.
Sources: support.microsoft.com
7. Optimizing Resolution and Scaling (DPI Settings)
When using monitors of different physical sizes, resolutions, or pixel densities—such as a 4K laptop screen paired with a 1080p external monitor—text and icons can appear microscopic on one screen and massive on the other. To fix this, Windows 10 allows you to adjust the resolution and display scaling individually for each connected monitor. In the Display settings window, click on the numbered box corresponding to the monitor you wish to adjust.
Scroll down to the "Scale and layout" section. Under "Display resolution," ensure that the dropdown menu is set to the "Recommended" option, which matches the monitor's native hardware resolution for maximum sharpness. Next, use the "Change the size of text, apps, and other items" dropdown menu to adjust the DPI scaling percentage (common options include 100%, 125%, 150%, or 200%). Adjust this value until text and window borders look physically consistent when dragged between your two screens. Avoid using "Custom scaling" unless absolutely necessary, as it applies a system-wide scale factor that can cause legacy applications to appear blurry or render incorrectly.
Sources: support.microsoft.com
8. Configuring Refresh Rates for Smooth Motion
By default, Windows 10 may configure a newly connected high-refresh-rate monitor to run at a standard 60Hz. To unlock the full smoothness of a 144Hz, 165Hz, or 240Hz display, you must manually adjust the refresh rate settings. Navigate to Settings > System > Display, scroll to the bottom of the page, and click on "Advanced display settings." Select the high-refresh-rate monitor from the dropdown menu at the top of the page to view its current display information.
Click on the link labeled "Display adapter properties for Display X" (where X is the monitor number). In the properties window that opens, navigate to the "Monitor" tab. Under the "Screen refresh rate" section, click the dropdown menu, select the highest supported frequency for your monitor, and click "Apply." If you are running a mixed-refresh-rate setup (such as a 144Hz primary monitor and a 60Hz secondary monitor), you may occasionally experience a known Windows 10 bug where the primary monitor's refresh rate temporarily drops to 60Hz when a video or animation plays on the secondary screen. To mitigate this, ensure your graphics drivers are fully updated, and consider disabling hardware acceleration in web browsers like Chrome or Edge if you experience stuttering while streaming video on your secondary display.
Sources: support.microsoft.com
9. Color Calibration and HDR Configuration
Even when using identical monitor models, manufacturing variances and backlight aging can cause colors to look slightly different from one screen to another. To achieve visual consistency, you should calibrate your displays. Windows 10 includes a built-in calibration wizard. Type "dccw" into the Windows search bar and press Enter to launch the Display Color Calibration tool. Drag the window onto the monitor you want to calibrate and follow the on-screen instructions to adjust gamma, brightness, contrast, and color balance. For professional creative workflows, consider using a hardware colorimeter to generate precise ICC (International Color Consortium) color profiles.
If your secondary monitor supports High Dynamic Range (HDR), you can enable it to enjoy richer colors and deeper contrast. Select the HDR-capable monitor in the Display settings menu, scroll down to the "Windows HD Color" section, and toggle the "Play HDR games and apps" switch to "On." Keep in mind that enabling HDR on budget-friendly monitors that lack high peak brightness can sometimes result in a washed-out image. If this occurs, you can fine-tune the HDR brightness balance using the "Windows HD Color settings" link, or disable HDR entirely for standard dynamic range (SDR) content.
Sources: support.microsoft.com
10. Customizing the Taskbar and Multi-Monitor Navigation
To keep your expanded workspace organized, you can customize how the Windows taskbar behaves across your displays. Right-click on an empty space on your primary taskbar and select "Taskbar settings." Scroll down to the "Multiple displays" section. If you toggle "Show taskbar on all displays" to "Off," the taskbar will only appear on your designated primary monitor, maximizing screen real estate on your secondary screen.
If you prefer having a taskbar on both screens, keep the setting toggled "On" and configure the "Show taskbar buttons on" dropdown menu. Selecting "All taskbars" mirrors all open applications across both taskbars. Choosing "Main taskbar and taskbar where window is open" or "Taskbar where window is open" ensures that application icons only appear on the taskbar of the screen where the application window is actively running, which is highly recommended for keeping a clean, uncluttered workspace. Additionally, you can set different desktop wallpapers for each screen by navigating to Settings > Personalization > Background, right-clicking on an image under "Choose your picture," and selecting "Set for monitor 1" or "Set for monitor 2."
Sources: support.microsoft.com
11. Advanced Window Management and Keyboard Shortcuts
Navigating a dual-monitor setup is significantly faster when utilizing built-in Windows 10 keyboard shortcuts. Instead of manually dragging windows between screens, select an active window and press **Windows Logo Key + Shift + Left Arrow** or **Right Arrow** to instantly snap the window to the exact same position on the adjacent monitor. To organize your workspace on a single screen, use **Windows Logo Key + Left Arrow** or **Right Arrow** to trigger Snap Assist, which perfectly snaps the active window to fill exactly half of the screen, prompting you to select another open application to fill the remaining half.
For power users who require complex, multi-window grid layouts, Microsoft offers a free, highly customizable utility called PowerToys, which includes a tool named "FancyZones." FancyZones allows you to design custom grid templates for each monitor. Once configured, you can hold down the **Shift** key while dragging any window to snap it into a predefined zone. This is particularly useful for managing multiple communication apps, browser tabs, and documents simultaneously without wasting time manually resizing windows.
Sources: support.microsoft.com
12. Windows 10 Lifecycle, Security, and Future Upgrades
When configuring your dual-monitor setup, it is crucial to consider the long-term security and support lifecycle of your operating system. Standard extended support for Windows 10 officially concluded on **October 14, 2025**. Running an unsupported operating system exposes your computer to severe security vulnerabilities, malware, and compatibility issues with newer hardware and software.
Upgrading to Windows 11 is highly recommended to ensure continuous, free security updates and to gain access to advanced multi-monitor features. Windows 11 natively resolves several common dual-monitor pain points, such as automatically remembering window locations when you disconnect and reconnect an external monitor, and offering improved docking transitions. Because support policies, hardware compatibility rules, and upgrade paths are subject to change, always verify the latest official timelines and enrollment details directly on the Microsoft Windows Support portal.
Sources: support.microsoft.com
- https://support.microsoft.com/windows/add-a-hardware-device-to-a-windows-device-ae095699-4d4f-40da-8702-e9662a855364
- https://support.microsoft.com/windows
- https://support.microsoft.com/windows/how-to-use-multiple-monitors-in-windows-3d5c15dc-cc63-d850-aeb6-b41778147554
- https://support.microsoft.com/windows/troubleshoot-external-monitor-connections-in-windows-10-35c3aed4-347c-21d5-0e25-21d005e99226
- https://support.microsoft.com/windows/change-the-refresh-rate-on-your-monitor-in-windows-c8bfe72b-2d9f-41b3-b3f9-74c359a5977d
- https://support.microsoft.com/windows/windows-10-support-has-ended-on-october-14-2025-9814107f-bb5f-4d86-97b4-5b1c1405287d
- https://support.microsoft.com/windows/windows-10-consumer-extended-security-updates-esu-58b30d58-1403-474d-9453-c03487401987