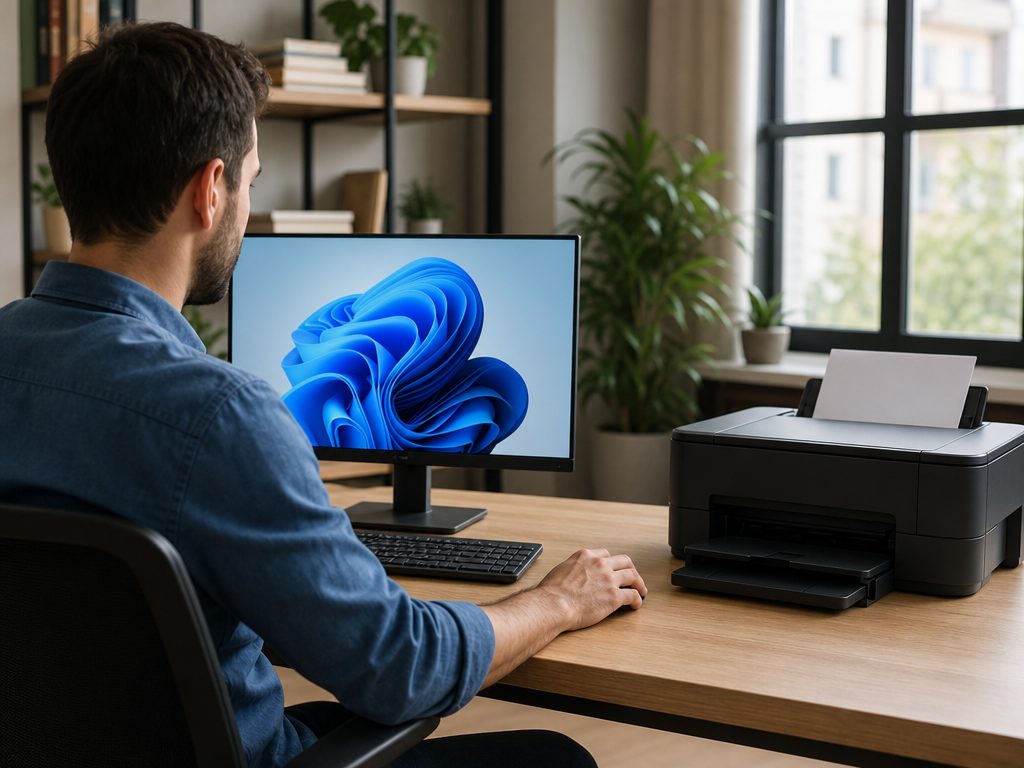
The Cost of Print Job Chaos: Why Your Default Printer Matters
Every time you click "Print" inside a document editor, web browser, or design application, Windows automatically routes the job to a pre-selected device. If you operate in a dynamic environment—such as a hybrid home office, a bustling corporate suite, or multiple remote client locations—your system likely has several active, inactive, and virtual printers installed. Without a designated default printer, your computer might route sensitive financial reports, personal medical records, or urgent contracts to an offline device, a virtual PDF writer, or a physical printer located in an entirely different room or building.
Taking manual control of this setting ensures that your print jobs land exactly where you expect them to. By default, Windows attempts to manage this process automatically, but its built-in algorithm often defaults to the last printer you used. While this might sound convenient, it frequently leads to confusion and wasted resources when you switch between tasks or locations. For example, if you recently printed a document to a PDF writer, Windows may set that virtual writer as your default printer. The next time you attempt to print a physical document, instead of sending it to your office printer, Windows will prompt you to save a file, disrupting your workflow. By manually assigning a default printer, you establish a consistent, predictable workflow across all your desktop applications.
Sources: support.microsoft.com
The Windows 10 Support Horizon: Critical Context for 2026 and Beyond
If you are still running Windows 10, it is crucial to understand the operating system's current lifecycle status. Mainstream support for Windows 10 officially ended on October 13, 2020, and extended support concluded on October 14, 2025. While your computer will continue to function and allow you to manage print settings, operating a system past its official end-of-support date introduces significant security and compatibility risks. Without active support, Microsoft no longer provides free security patches, software updates, or technical assistance for standard consumers. This means that newer printer drivers released by hardware manufacturers may not be fully optimized or supported on Windows 10, potentially leading to unresolved printing bugs.
However, in a quiet update on June 25, 2026, Microsoft extended the consumer Extended Security Updates (ESU) program to October 12, 2027. This extension provides personal use devices with an additional year of critical security patches. Consumers can enroll in the ESU program through three paths: syncing settings via Windows Backup at no cost, redeeming 1,000 Microsoft Rewards points, or making a one-time $30 purchase. A single license covers up to 10 devices tied to one Microsoft account. It is important to note that the consumer ESU program is distinct from the commercial ESU program, which starts at $61 for the first year and is not eligible for the free consumer extension. If you must remain on Windows 10, you should verify your system's current status and explore these options to keep your machine secure. For official, up-to-date details on operating system lifecycles, refer directly to the Microsoft Lifecycle portal.
Sources: learn.microsoft.com, support.microsoft.com
Step-by-Step: Setting a Default Printer in Windows 11
Windows 11 features a modernized, centralized Settings app designed to replace legacy Control Panel menus. To set your primary printing device in this environment, begin by opening the Start menu and clicking the "Settings" gear icon, or press the keyboard shortcut Windows Key + I. From the left-hand sidebar, select "Bluetooth & devices," then scroll down the right-hand pane and click on "Printers & scanners."
Inside this menu, you will see a comprehensive list of all physical and virtual printers currently configured on your system. Scroll through the list and click on the specific printer you want to establish as your primary device. This action opens the printer's dedicated management page. At the top of this screen, look for the button labeled "Set as default" and click it. The system will immediately update, and you will see a status indicator confirming that this device is now your primary printer. Note that if the "Set as default" button is missing, you must first disable automatic Windows management, which we cover in detail below.
Sources: support.microsoft.com
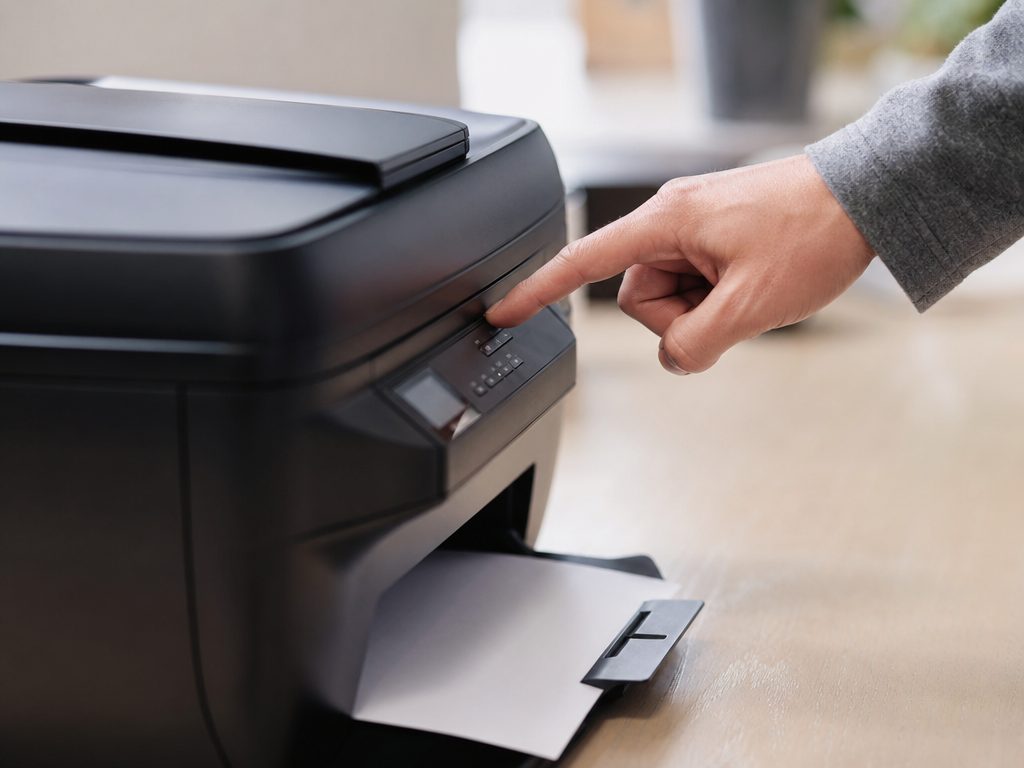
Step-by-Step: Setting a Default Printer in Windows 10
Although Windows 10 is past its extended support lifecycle, configuring your default printer remains a straightforward process. To begin, click the Start button in the lower-left corner of your taskbar and select the "Settings" gear icon. In the main Settings window, click on the "Devices" category, and then select "Printers & scanners" from the navigation pane on the left side of the screen.
Scroll down the list of available devices until you locate your preferred printer. Click on the printer's name to expand its options menu, and then click the "Manage" button. On the subsequent screen, click the "Set as default" button located near the top of the page. Once clicked, Windows will lock in this device as your primary destination for all future print commands across your applications.
Sources: support.microsoft.com
Disabling Automatic Windows Management (The Permanent Fix)
A common point of frustration occurs when you manually set a default printer, only to find that Windows changes it back later. This behavior is caused by an automated feature designed to assist mobile users by dynamically switching the default printer to the device used most recently at a given location. To maintain your manual selection permanently, you must disable this automation.
In Windows 11, navigate to Settings > Bluetooth & devices > Printers & scanners. Scroll down to the "Printer preferences" section and locate the toggle switch next to "Let Windows manage my default printer". Click the toggle to turn it off. In Windows 10, navigate to Settings > Devices > Printers & scanners, scroll down to the bottom of the page, and uncheck the box next to "Let Windows manage my default printer". Disabling this setting forces Windows to respect your manual choice, ensuring it remains active until you decide to change it.
For advanced users or IT administrators who need to enforce this setting across multiple user profiles, you can modify the Windows Registry. Navigate to `HKEY_CURRENT_USER\SOFTWARE\Microsoft\Windows NT\CurrentVersion\Windows` and locate the DWORD value named `LegacyDefaultPrinterMode`. Setting this value to `1` disables the automatic management feature, while setting it to `0` enables it. Always back up your registry before making manual modifications.
Sources: support.microsoft.com
The "Control Printers" Redirection in Modern Windows 11
For years, advanced users and system administrators relied on the classic Control Panel to manage hardware. Running the "control printers" command in the Windows Run dialog (Windows Key + R) was a universal shortcut to open the "Devices and Printers" folder. However, starting with Windows 11 version 22H2 and later, Microsoft redirected this command. Running "control printers" now automatically redirects you to the modern "Printers & scanners" Settings page.
If you still require the granular control offered by the legacy interface—such as managing complex print queues, viewing detailed device properties, or troubleshooting legacy hardware—you can bypass this redirection using a specific shell command. Open the Run dialog (Windows Key + R), paste the following string exactly, and press Enter:
`shell:::{A8A91A66-3A7D-4424-8D24-04E180695C7A}`
This command forces Windows 11 to open the classic "Devices and Printers" Control Panel window, allowing you to manage your hardware using the traditional interface. This is particularly useful when configuring advanced port settings or managing older hardware that does not integrate cleanly with the modern Settings app.
Sources: support.microsoft.com
Advanced Methods: Setting a Default Printer via PowerShell
If you are managing multiple workstations, scripting a deployment, or if the graphical user interface (GUI) fails to respond, you can set your default printer using Windows PowerShell. To do this, right-click the Start button and select "Terminal (Admin)" or "Windows PowerShell (Admin)."
To set your default printer using the WScript.Network COM object, which is highly reliable across both Windows 10 and 11, execute the following command (replacing "Your Printer Name" with the exact name of your device):
`$wsnObj = New-Object -ComObject WScript.Network`
`$wsnObj.SetDefaultPrinter("Your Printer Name")`
Alternatively, you can use the Common Information Model (CIM) cmdlets in PowerShell to achieve the same result:
`Get-CimInstance -Class Win32_Printer -Filter "Name='Your Printer Name'" | Invoke-CimMethod -MethodName SetDefaultPrinter`
If you want to use PowerShell to disable the automatic Windows management feature programmatically, you can modify the registry directly by running:
`Set-ItemProperty -Path "HKCU:\SOFTWARE\Microsoft\Windows NT\CurrentVersion\Windows" -Name "LegacyDefaultPrinterMode" -Value 1 -Force`
Sources: learn.microsoft.com
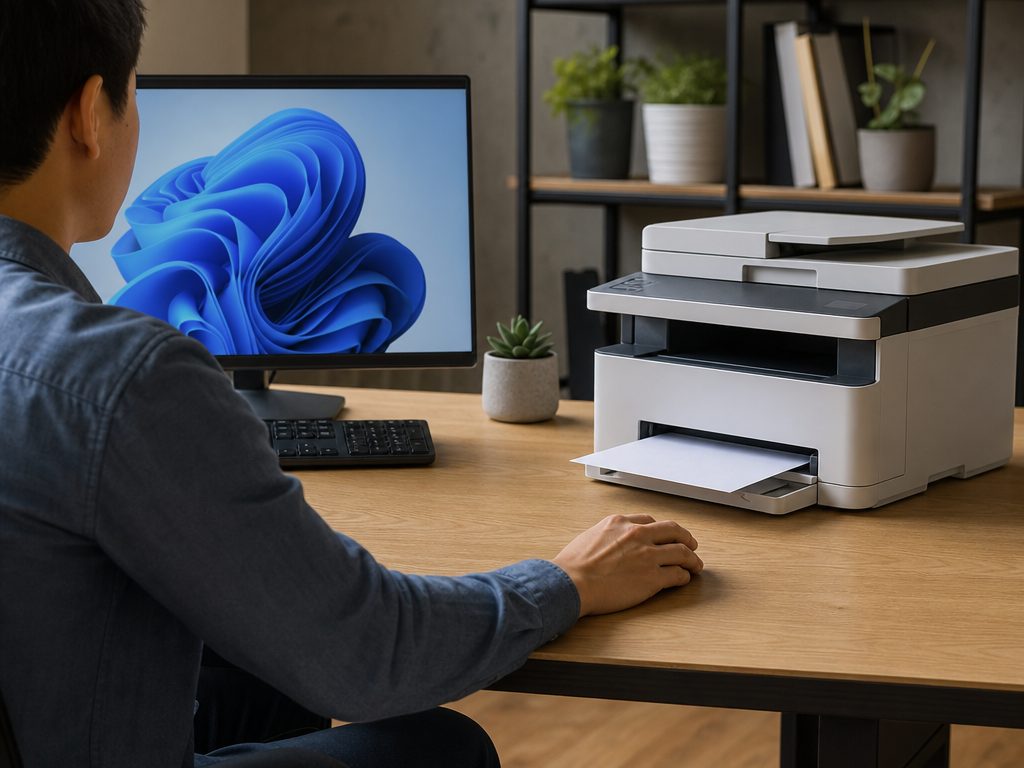
Troubleshooting: What to Do When "Set as Default" Is Missing or Grayed Out
If you navigate to your printer's management page and find that the "Set as default" button is missing or grayed out, there are three primary culprits to investigate. First, verify that the "Let Windows manage my default printer" toggle is turned off. When this feature is active, Windows locks the default printer to your last-used device, disabling manual overrides in the settings menu.
Second, if you are using a work or school computer, your system administrator may have applied a Group Policy Object (GPO) that restricts users from changing their default printer. In this scenario, you will need to contact your IT department to request an exception or have them assign the default printer via policy. Finally, if the printer is currently showing as "Offline" or "Disconnected," Windows may prevent you from setting it as the default. Ensure the device is powered on, connected to your network or computer, and showing an "Idle" or "Ready" status before attempting to change the setting.
Sources: support.microsoft.com
Resolving Connection and Print Spooler Failures
If your preferred printer does not appear in your settings list at all, or if you encounter a "Printer not found" error, you must troubleshoot the connection. For USB-connected models, try swapping the cable to a different USB port directly on your computer, avoiding external hubs. For wireless or network printers, ensure that both your computer and the printer are connected to the exact same network band (e.g., verifying that one device isn't isolated on a 5GHz band while the other is on a 2.4GHz guest network).
If the hardware connections are secure but the printer remains unresponsive, restarting the Print Spooler service often resolves the issue. The Print Spooler is the background service responsible for managing all print jobs currently sent to the queue. To restart it:
1. Press Windows Key + R, type `services.msc`, and press Enter.
2. Scroll down the alphabetical list to locate "Print Spooler."
3. Right-click "Print Spooler" and select "Restart."
If the service fails to restart, you can clear corrupted print jobs by stopping the spooler, navigating to `%systemroot%\System32\spool\PRINTERS` in File Explorer, deleting all files within that folder, and then starting the spooler service again.
Sources: support.microsoft.com
Advanced Driver Management and Clean Reinstallation
When persistent software conflicts prevent you from setting a default device, updating or reinstalling the printer drivers is the most effective solution. Open the Device Manager by right-clicking the Start menu and selecting "Device Manager." Expand the "Print queues" or "Printers" category, right-click your specific printer, and select "Update driver."
For a more thorough cleanup of corrupted drivers, use the Print Management console. Note that in Windows 11, Print Management (`printmanagement.msc`) is treated as an optional feature and is only available in Windows Pro, Enterprise, and Education editions. It is not included in Windows Home. To install it on Pro or Enterprise editions, go to Settings > System > Optional features, click "View features," search for "Print Management," and click "Install". Alternatively, you can run the following command in an elevated Command Prompt or PowerShell:
`DISM /online /add-capability /CapabilityName:Print.Management.Console~~~~0.0.1.0`
Once installed, open the Run dialog, type `printmanagement.msc`, and press Enter. Here, you can view all installed drivers, delete redundant driver packages, and clear out old ports to prevent system conflicts. Always download the latest full-feature driver package directly from your printer manufacturer's official support website (such as HP, Canon, Epson, or Brother) rather than relying on generic Windows drivers, which often lack advanced configuration options.
Sources: support.microsoft.com
- https://support.microsoft.com/windows/fix-printer-not-found-and-printer-not-recognized-errors-in-windows-031ec613-4221-4a99-bc57-afb70b2b6af0
- https://support.microsoft.com/windows
- https://learn.microsoft.com/lifecycle/products/windows-10-home-and-pro
- https://learn.microsoft.com/powershell/scripting/samples/working-with-printers
- https://support.microsoft.com/windows/windows-10-support-has-ended-on-october-14-2025-031ec613-4221-4a99-bc57-afb70b2b6af0