
The Evolution of Windows Diagnostics: Legacy MSDT vs. Modern Get Help
Windows operating systems have long included automated diagnostic utilities designed to resolve common system errors without requiring manual registry edits or immediate driver reinstalls. Historically, these diagnostics relied on the Microsoft Support Diagnostic Tool (MSDT) platform. First introduced in Windows 7, MSDT allowed built-in troubleshooters to scan hardware configurations, software services, and network protocols, comparing the system's state against standard operational configurations to apply automated fixes.
However, Microsoft is actively phasing out the legacy MSDT platform due to security vulnerabilities, most notably the CVE-2022-30190 remote code execution vulnerability (often referred to as "Follina"). This flaw allowed attackers to run arbitrary code via MSDT when called from applications like Microsoft Word. Consequently, Microsoft announced a multi-year deprecation timeline running from 2023 through 2025 and beyond. During this transition, legacy inbox troubleshooters are being retired or redirected to the modern, cloud-based "Get Help" platform.
Understanding this shift is crucial for modern PC maintenance, as the tools you rely on may look and behave differently depending on your specific Windows build. While older versions of Windows still run local MSDT troubleshooters, newer builds of Windows 11 redirect users to interactive diagnostic scripts within the Get Help application. This transition ensures a more secure troubleshooting environment while maintaining the core functionality of automated system repairs.
Sources: support.microsoft.com
How to Access Troubleshooters in Windows 11
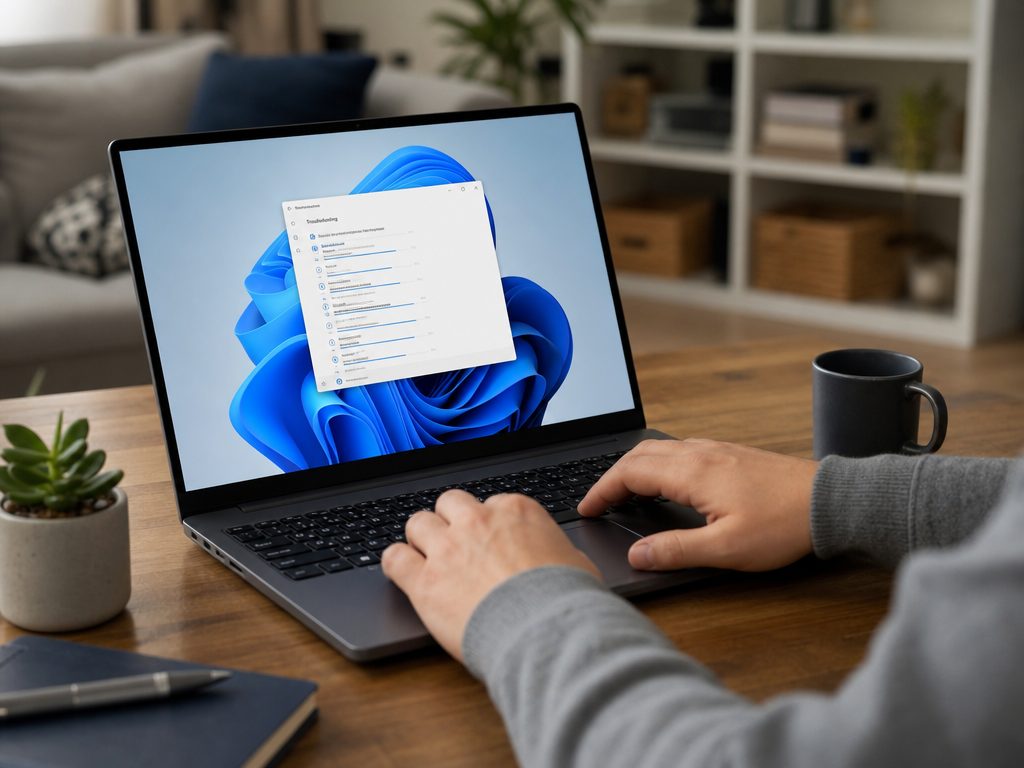
Navigating to diagnostic tools in Windows 11 reflects Microsoft's modern design language and the ongoing transition to the "Get Help" ecosystem. To access these tools, click the Start menu and select the "Settings" gear icon, or use the keyboard shortcut "Windows key + I". Once the Settings application opens, ensure you are in the "System" category on the left-hand sidebar.
Scroll down the right pane of the System menu and click on "Troubleshoot." Here, Windows 11 displays recommended troubleshooters based on diagnostic data collected from your system's recent performance history. To view the full suite of available utilities, click on "Other troubleshooters." This action reveals a categorized list of diagnostics for internet connections, audio playback, printers, Windows Update, Bluetooth, and other hardware components.
Many of these options will seamlessly redirect you to the "Get Help" app to run the latest cloud-updated diagnostic scripts. If you prefer to search directly, you can also open the Start menu, type "Troubleshoot settings," and press Enter to jump straight to this menu. This streamlined interface makes it easier to locate the exact tool you need without digging through legacy Control Panel windows.
Sources: support.microsoft.com
How to Access Troubleshooters in Windows 10
For users running Windows 10, the diagnostic interface remains tied to the classic Settings layout. Because Windows 10 is not subject to the immediate removal of legacy MSDT troubleshooters—unless upgraded to Windows 11—the built-in local tools continue to function as originally designed. To open them, click the Start menu, select the gear icon to open Settings, and click on "Update & Security."
In the left-hand sidebar of the Update & Security window, select "Troubleshoot." The main pane will display recommended troubleshooters that Windows suggests based on background telemetry. To access the entire catalog of diagnostic tools, click the "Additional troubleshooters" link. This action opens a comprehensive menu categorized by function, allowing you to run dedicated diagnostics for network adapters, power management, keyboard inputs, and search indexing.
This legacy layout is highly reliable and does not require an active internet connection to run most diagnostics, as the troubleshooting packs are stored locally on your hard drive. However, keep in mind that if you eventually upgrade your system to Windows 11, these menus will transition to the modern layout described in the previous section.
Sources: support.microsoft.com

Running a Diagnostic and Applying Reversible Fixes
To execute a troubleshooter, select the specific tool corresponding to your issue—such as "Network & Internet" or "Playing Audio"—and click the "Run" button. The utility will launch a diagnostic wizard that scans your system components, services, and registry keys. Depending on the tool and the nature of the problem, you may be prompted to grant administrator privileges or to consent to automated diagnostic tests.
During the scan, the troubleshooter may automatically apply a fix, such as restarting a stopped service or resetting a hardware adapter. Alternatively, it may present you with a list of recommended actions, allowing you to choose whether to apply the fix. A major benefit of these built-in utilities is that the vast majority of their automated fixes are entirely reversible.
For instance, if a troubleshooter resets your network adapter or alters your default audio format to resolve a conflict, you can manually revert these changes. If you prefer custom settings, you can reconfigure them via the Device Manager, Sound Control Panel, or Network Connections menu. Because operating system updates frequently modify menu names and diagnostic behaviors, users should verify current layouts if an on-screen prompt differs from standard documentation.
Sources: support.microsoft.com
Command-Line Shortcuts: Launching Classic Troubleshooters via MSDT
Although Microsoft is deprecating legacy troubleshooters, advanced users can still launch many classic diagnostic wizards directly using command-line shortcuts. This is particularly useful if a specific tool has been hidden in the modern Settings app but remains present in your system's local files. To run these, press "Windows key + R" to open the Run dialog, or open Command Prompt, and enter the appropriate command.
Some of the most common diagnostic commands include:
• Bluetooth: msdt.exe -id BluetoothDiagnostic
• Hardware and Devices: msdt.exe -id DeviceDiagnostic
• Power Management: msdt.exe -id PowerDiagnostic
• Printer: msdt.exe -id PrinterDiagnostic
• Program Compatibility: msdt.exe -id PCWDiagnostic
• Search and Indexing: msdt.exe -id SearchDiagnostic
• Windows Update: msdt.exe -id WindowsUpdateDiagnostic
• Playing Audio: msdt.exe -id AudioPlaybackDiagnostic
• Network Adapter: msdt.exe -id NetworkDiagnosticsNetworkAdapter
Because Microsoft is actively removing the MSDT platform in newer releases of Windows 11, these command-line shortcuts may eventually return an error or redirect you to the "Get Help" app. If a command fails to execute, it is a sign that your operating system build has fully transitioned to the modern diagnostic framework. Always refer to official Microsoft documentation to verify which command-line tools remain active on your specific build.
Sources: support.microsoft.com
Resolving Network and Connection Failures
Network connectivity issues are among the most disruptive problems PC users encounter. Running the "Internet Connections" or "Network Adapter" troubleshooter can resolve common glitches such as DNS resolution failures, "Limited Connectivity" warnings, or intermittent Wi-Fi dropouts. Under the hood, these tools perform several automated actions to restore your connection.
First, the troubleshooter will temporarily disable and re-enable your network interface card (NIC) to clear any hardware-level hangs. It then flushes the local DNS cache to remove outdated routing information and resets the TCP/IP stack to its default state. If your computer is struggling to communicate with your local router, the tool will release and renew your local IP address.
If you use custom static IP configurations or third-party DNS servers (such as Cloudflare or Google DNS), be aware that the troubleshooter may revert these to automatic (DHCP) settings to establish a baseline connection. You can easily re-enter your preferred configurations in the Network Connections properties once the diagnostic tool has finished its run and verified that the hardware is functioning correctly.
Sources: support.microsoft.com
Fixing Audio and Sound Glitches
Audio failures—such as a complete lack of sound, crackling audio, or a microphone that refuses to pick up input—can often be resolved using the "Playing Audio" troubleshooter. When initiated, this diagnostic tool inspects the core Windows services responsible for sound reproduction, primarily the Windows Audio service (Audiosrv) and the Windows Audio Endpoint Builder (AudioEndpointBuilder).
If these services are stalled or disabled, the troubleshooter will attempt to restart them. It also checks your default playback device settings to ensure audio is not being routed to an inactive or unplugged device, such as a disconnected monitor or virtual audio cable. Additionally, the tool scans for audio enhancement conflicts, which frequently cause driver crashes after major system updates.
If the troubleshooter disables your audio enhancements to restore sound, you can manually re-enable them in the Sound Control Panel if you find the audio quality lacking. To do this, right-click the speaker icon in your system tray, select "Sound settings," navigate to your device properties, and toggle the enhancement options back on.
Sources: support.microsoft.com
Repairing Windows Update Errors
Windows Update is critical for maintaining system security and stability, but corrupted update caches or stalled background services can prevent updates from installing successfully. The "Windows Update" troubleshooter is specifically designed to clear these bottlenecks and reset the update pipeline.
When run, the utility stops key background services, including the Windows Update service (wuauserv), Cryptographic Services (cryptsvc), and the Background Intelligent Transfer Service (BITS). Once these services are inactive, the troubleshooter renames or clears the contents of the SoftwareDistribution and Catroot2 folders, which store temporary update files. By clearing these directories, the tool eliminates any corrupted files that were blocking the installation process.
Finally, it restarts the services and prompts Windows to perform a fresh check for updates. After running this tool, it is highly recommended to restart your computer and manually check for updates to verify the fix. If the issue persists, you may need to manually download the specific update package from the Microsoft Update Catalog.
Sources: support.microsoft.com
Troubleshooting Hardware and Peripheral Issues
Hardware conflicts, printer offline errors, and Bluetooth pairing failures can disrupt your daily workflow. While Microsoft has removed the "Hardware and Devices" troubleshooter from the standard Windows 11 Settings menu, it remains accessible via the command-line shortcut "msdt.exe -id DeviceDiagnostic" on many builds.
For printer issues, the troubleshooter stops the Print Spooler service, clears any stalled print jobs stuck in the queue, and restarts the service. For Bluetooth glitches, the tool verifies that the Bluetooth Support Service (bthserv) is running and configured to start automatically. It also checks for outdated or corrupted driver signatures in the Device Manager.
If a peripheral continues to malfunction after running these diagnostics, you may need to visit the manufacturer's official website to download the latest proprietary drivers, as generic Windows drivers do not always support advanced hardware features. Always ensure your external devices are properly powered and physically connected before running these tools.
Sources: support.microsoft.com
Advanced Next Steps: When Automated Tools Fail
While built-in troubleshooters are highly effective for common software glitches and minor configuration errors, complex system corruption may require deeper manual intervention. If a troubleshooter reports that it "couldn't identify the problem," you should turn to advanced command-line diagnostic utilities built directly into Windows.
The first tool to utilize is the System File Checker (SFC). To run it, open an elevated Command Prompt (search for "cmd", right-click, and select "Run as administrator") and type "sfc /scannow". This tool scans all protected system files and replaces corrupted versions with cached copies. If SFC cannot repair the files, run the Deployment Image Servicing and Management (DISM) tool by typing "dism /online /cleanup-image /restorehealth".
DISM connects to Windows Update to download and replace damaged system image files. Additionally, you can use the native PC Health Check application to inspect your storage drive's health, RAM allocation, and overall update status. Always ensure you have a complete backup of your critical data before performing major system repairs, driver reinstalls, or operating system resets to prevent accidental data loss.
Sources: support.microsoft.com
- https://support.microsoft.com/windows
- https://support.microsoft.com/en-us/windows/deprecation-of-microsoft-support-diagnostic-tool-msdt-and-msdt-troubleshooters-0c5ac9a2-1600-4539-b9d0-069e71f9040a
- https://support.microsoft.com/en-us/windows/troubleshoot-problems-updating-windows-183c6a0d-aa80-ae78-5eb5-928bca2c9727