Physical Connections and Power Requirements
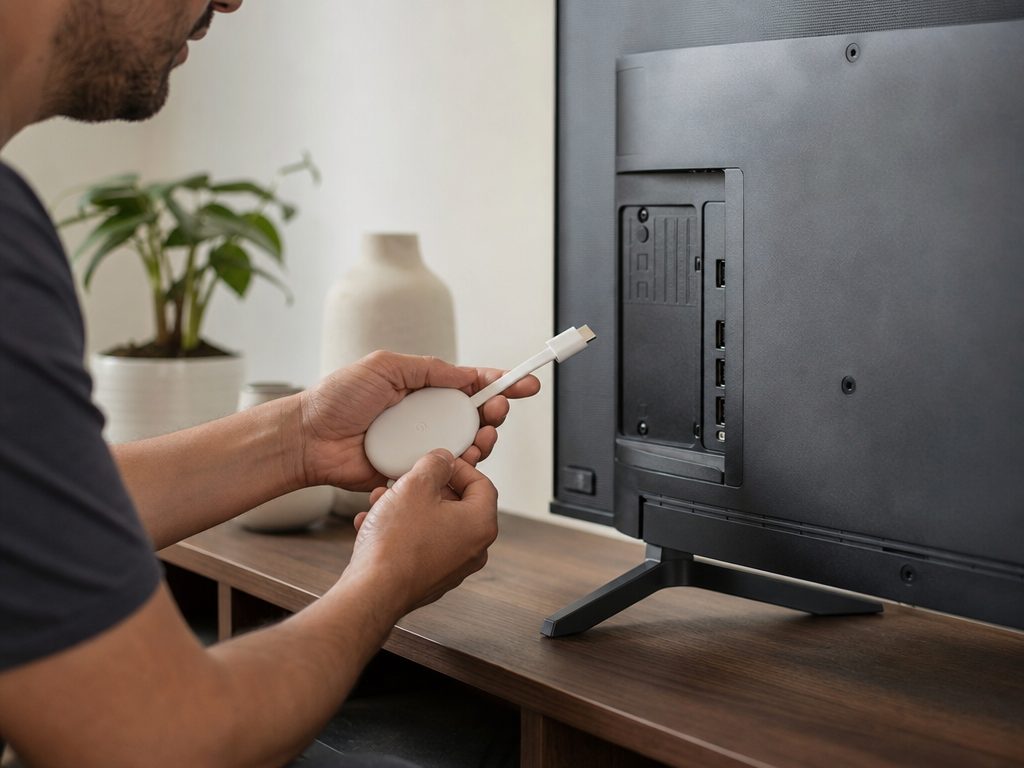
To begin setting up your Google TV streaming device, you must first establish the correct physical connections. Start by plugging the device directly into an open HDMI port on your television or display [1.1.4]. For the best possible picture quality—especially if you are using a 4K-capable device like the Google TV Streamer (4K)—ensure you connect it to an HDMI port that supports HDMI 2.1 and HDCP 2.2 protocols. These protocols are essential for transmitting high-bandwidth 4K video at 60Hz and ensuring compatibility with copy-protected content from major streaming services. Because hardware specifications, regional app availability, and subscription pricing models are subject to change over time, it is highly recommended to verify the latest device specifications and regional terms directly on the official Google Store or Google Support portals.
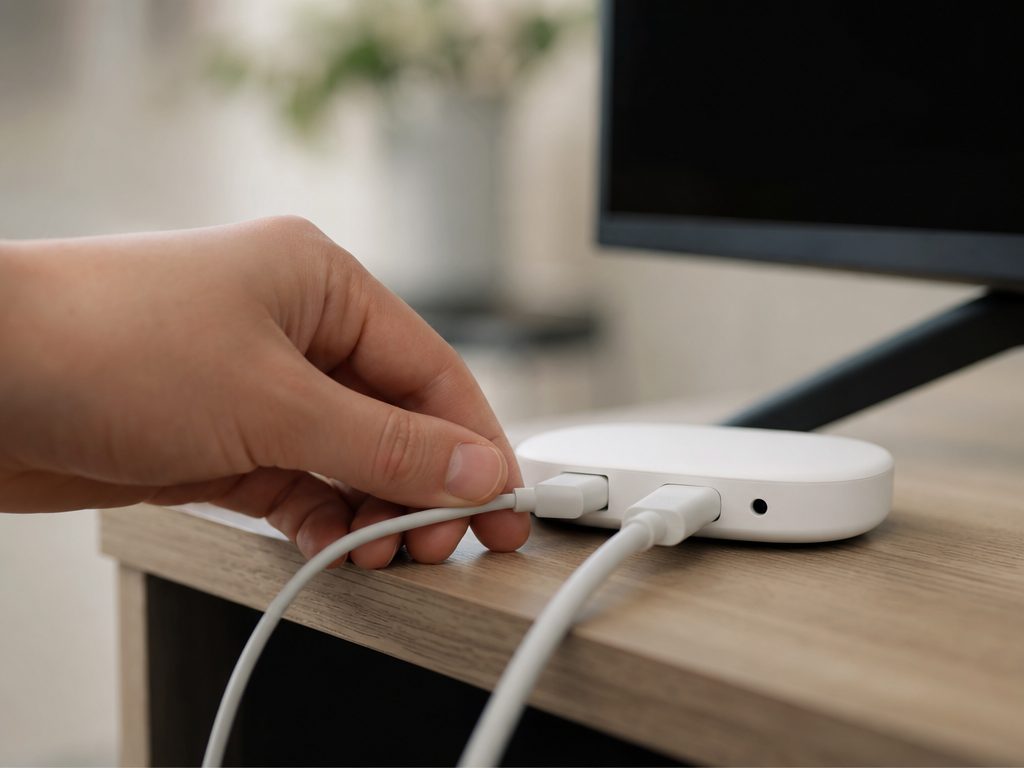
A critical but frequently overlooked step is powering the device correctly. While it may be tempting to plug the USB power cable directly into one of your television's USB ports to reduce cable clutter, this is highly discouraged. Most TV USB ports only output between 0.5A and 1.0A (2.5W to 5W) of power. Google TV devices require a consistent, higher amperage to function reliably, particularly during boot sequences, resource-intensive app loading, or system firmware updates. Insufficient power can lead to infinite boot loops, sudden system crashes, or even corrupted firmware. Always use the official USB-C cable and power adapter plugged directly into a standard household wall outlet.
If you prefer a wired network connection for lag-free streaming, your physical setup will depend on your specific hardware. The Google TV Streamer (4K) features a built-in Gigabit Ethernet port directly on the back of the console, supporting speeds up to 1000 Mbps. If you are using a Chromecast with Google TV, you will need to purchase a proprietary Ethernet adapter, which integrates the RJ-45 Ethernet port directly into the power brick, providing a stable 10/100 Mbps connection.
Sources: support.google.com, support.google.com
Pairing the Voice Remote and Activating Accessibility Features
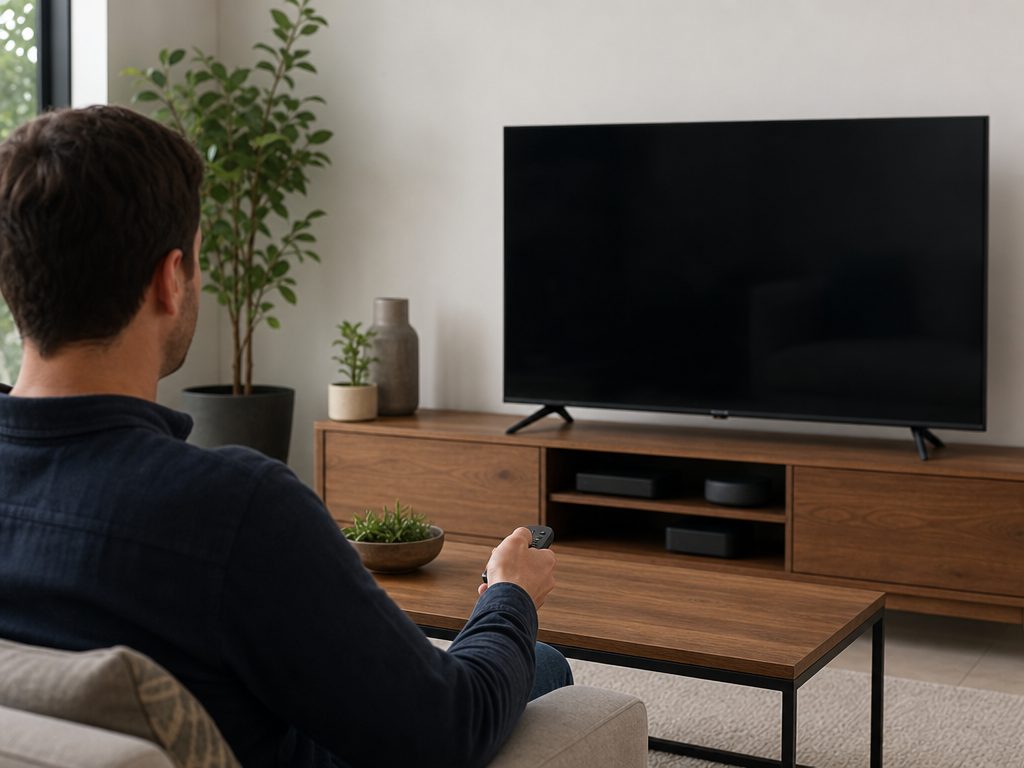
Once your device is powered on and your television is set to the corresponding HDMI input, the initial boot screen will prompt you to pair your remote control. Before starting, insert the two included AAA batteries into the remote, ensuring that the positive and negative terminals are aligned correctly.
In most cases, the remote will pair automatically with the streaming device, indicated by an on-screen confirmation or an audible chime. However, if the automatic pairing fails or if your screen displays a 'Start pairing' message, you must initiate manual pairing. To do this, press and hold the Back and Home buttons on your remote control simultaneously. Keep holding these buttons until the status light on the remote begins to pulse, which indicates it is in pairing mode. If you are using a smart television with Google TV built-in from a third-party manufacturer, follow any custom on-screen instructions provided by the OEM.
After successfully pairing the remote, you will be prompted to select your preferred language. If you or anyone in your household requires spoken feedback, you can activate the TalkBack screen reader at this stage. To enable TalkBack, press and hold both the Back and Down (D-pad) buttons on your remote control simultaneously for three seconds. Once activated, TalkBack will read aloud the text and options displayed on your screen to assist you through the remaining setup steps. If you experience persistent remote pairing issues, you can reset the remote by removing the batteries, holding the Home button while reinserting them, and continuing to hold for three seconds until the LED pulses.
Sources: support.google.com, support.google.com
The Express Mobile QR Code Setup
The fastest and most convenient way to configure your Google TV device is by using the express mobile setup option. This modern setup path eliminates the need to manually type long passwords and email addresses using an on-screen keyboard. To utilize this streamlined method, you must have a compatible smartphone running Android 9.0 or higher, or an iPhone running iOS 17 or higher.
First, ensure that your mobile phone has both Bluetooth and Wi-Fi enabled and is connected to your home network. When the setup screen appears on your television, look for a QR code. Open your smartphone's native camera app and point it at the QR code to scan it. If you are using a nearby Android device, the operating system may automatically detect the setup signal and display a pop-up notification on your phone screen without requiring you to scan the QR code.
Tap the notification or the scanned link on your phone, and follow the step-by-step prompts displayed on both your mobile screen and your television. Your phone will securely transfer your Wi-Fi credentials and link your Google Account to the streaming device in a matter of moments, bypassing manual data entry entirely. This process uses an encrypted Bluetooth Low Energy (BLE) handshake to establish a secure local connection, ensuring your sensitive credentials are never exposed over the air.
Sources: support.google.com
App-Based Configuration via Google Home
If the express QR code method does not launch automatically, or if you prefer a structured smart home integration, you can complete the setup using the official Google Home app. This method is highly recommended as it automatically integrates your new streaming device into your existing smart home ecosystem.
To begin, ensure your phone's Bluetooth and Wi-Fi are turned on, and download the latest version of the Google Home app from the Google Play Store or Apple App Store. Open the app and navigate to the 'Devices' tab located at the bottom of the screen. Tap the 'Add' button, select 'Google Nest or partner device,' and choose or create your home profile. When prompted, select 'Scan code' and grant the Google Home app permission to access your smartphone's camera.
Scan the QR code displayed on your television screen. The app will establish a secure connection with your Google TV device, which may take a few minutes to sync completely. If you are using an iOS device and have the standalone Google TV app installed, ensure that it is updated to version 3.3100002 or higher to prevent background synchronization conflicts during this process. Follow the prompts in the Google Home app to assign the device to a specific room and complete the setup. Assigning the device to a specific room is crucial, as it allows Google Assistant to route voice commands and smart home routines accurately.
Sources: support.google.com, support.google.com
Manual On-Screen Setup (No-Phone Alternative)
If you do not have a smartphone nearby, or if you encounter persistent wireless pairing issues between your mobile device and the TV, you can complete the entire configuration manually. While using the physical remote control to type out your credentials takes longer, it remains a highly reliable and independent setup path.
To switch to this method, navigate to the QR code screen on your television. Press the Down arrow button on your remote control's directional pad (D-pad) to highlight the alternative options. Select 'Set up on TV instead' or 'Manual setup' from the menu. The system will then guide you through a series of on-screen prompts.
First, select your wireless network from the list of available Wi-Fi signals and use the on-screen keyboard to carefully enter your network password. Next, enter your Google Account email address and password. If you have 2-Step Verification (2FA) enabled on your Google Account, you will receive a prompt on your phone or another trusted device to approve the sign-in. If you encounter an error, get stuck on a loading screen, or experience a system freeze during this manual process, press and hold the Back button on your remote control. Keep holding it until a 'Having Trouble' message appears on the screen, which will allow you to reset the current step or restart the setup process from the beginning.
Sources: support.google.com
Network Compatibility and Wi-Fi Troubleshooting
A stable internet connection is vital for streaming high-definition content, but network configurations can sometimes present hurdles during setup. It is important to note that Google TV devices do not support enterprise-grade networks, specifically WPA2-Enterprise or WPA3-Enterprise networks. These networks, which typically require both a username and a password rather than just a security key, are common in university dormitories, corporate offices, and some hotels.
For home networks, Google TV devices are compatible with both 2.4 GHz and 5 GHz wireless bands. While a 2.4 GHz connection offers a longer range, it is highly susceptible to interference from other household electronics. For streaming high-bandwidth 4K HDR content, connecting to a 5 GHz Wi-Fi band is strongly recommended to ensure sufficient throughput and prevent buffering.
If you are setting up your device in a location with a captive portal—such as a hotel or vacation rental where a web browser login is required—you will face connectivity issues because Google TV does not feature a built-in web browser for network authentication during initial setup. To bypass this, you can use a portable travel router to establish a private local network, or temporarily clone your Google TV device's MAC address on a laptop to complete the portal login before connecting the streaming device.
Sources: support.google.com
Managing User Profiles and Kids Profiles
One of the standout features of Google TV is its robust support for multiple user profiles, allowing every member of your household to enjoy a personalized entertainment experience. When multiple profiles are configured, Google TV tailors its home screen recommendations, watchlists, and viewing history to each individual user, preventing your personal recommendations from being skewed by other family members' viewing habits.
To add a new user profile, navigate to the top-left corner of the Google TV home screen, select your active profile picture, and choose 'Add account' or 'Manage profiles.' Follow the on-screen prompts to sign in with a secondary Google Account.
For households with children, Google TV offers dedicated Kids Profiles. When creating a Kids Profile, parents can select age-appropriate content ratings, choose which installed apps are accessible, and set daily screen time limits or bedtime schedules. To prevent children from switching back to an adult profile, you can establish a secure profile lock PIN. This ensures that younger viewers only access safe, curated content while keeping your primary profile protected.
Sources: support.google.com
Display and Audio Calibration for 4K HDR and Surround Sound
Once the initial setup is complete, taking a few minutes to calibrate your display and audio settings will dramatically improve your viewing experience. Navigate to the Settings menu (represented by the gear icon in the top-right corner) and select 'Display & Sound.'
Under the Display settings, verify that your resolution is set to the maximum supported by your television, such as 4K at 60Hz. If your television supports advanced high-dynamic-range formats like HDR10, HDR10+, or Dolby Vision, ensure these options are enabled and set to match your TV's capabilities. Additionally, turn on the 'Match content frame rate' feature. This setting allows the Google TV device to dynamically adjust its output frame rate to match the native frame rate of the video you are watching (e.g., 24fps for movies), eliminating micro-stuttering and judder.
For audio calibration, navigate to the advanced sound settings. If you have a surround sound system, soundbar, or AV receiver connected, configure the audio output to support Dolby Atmos, DTS, or Dolby Digital Plus. Enabling 'Audio pass-through' (or bitstream) is highly recommended, as it instructs the Google TV device to send the raw audio signal directly to your external sound system, allowing your dedicated audio hardware to decode and process the sound for optimal acoustic performance.
Sources: support.google.com
Smart Home Integration and the Google TV Home Panel
Modern Google TV devices, particularly the Google TV Streamer (4K), serve as powerful hubs for your smart home ecosystem. By integrating your streaming device with the Google Home app, you can control and monitor your connected smart devices directly from your television screen.
A key feature of this integration is the 'Home Panel,' which can be accessed directly from the Google TV interface. The Home Panel allows you to view live feeds from compatible Nest cameras, adjust smart thermostats, dim smart lighting, and check the status of smart locks without interrupting your viewing experience.
Furthermore, you can leverage Google Assistant for hands-free or remote-assisted voice control. By pressing and holding the Google Assistant button on your Voice Remote, you can issue voice commands to control your smart home. For example, saying 'Show me the backyard camera' will display a picture-in-picture live feed on your TV, while commands like 'Turn off the living room lights' or 'Set the temperature to 72 degrees' allow you to manage your home environment seamlessly from the comfort of your couch.
Sources: support.google.com
Customizing Remote Buttons and Finding a Lost Remote
The Voice Remote included with modern Google TV devices offers several advanced customization options to streamline your daily use. On devices like the Google TV Streamer (4K), the remote features a dedicated customizable button (typically marked with a star icon). You can program this button by navigating to Settings -> Remotes & Accessories -> Set up remote buttons. From here, you can map the customizable button to perform a specific shortcut, such as instantly launching a favorite streaming app, switching input sources, or opening the smart home panel.
Additionally, you should configure the remote's physical power, volume, and input buttons to control your television, soundbar, or AV receiver. This can be done via HDMI-CEC (Consumer Electronics Control), which sends control signals over the HDMI cable, or by programming the remote's built-in infrared (IR) transmitter to match your specific hardware brands.
To address the common frustration of a misplaced remote, modern Google TV setups include a 'Find My Remote' feature. If your remote is lost in the couch cushions, you can press the physical button located on the back of the Google TV Streamer console. This will trigger a loud locator chime on the remote control, helping you find it quickly. Alternatively, you can initiate the 'Find My Remote' command directly through the Google Home app on your smartphone.
Sources: support.google.com, support.google.com
App Management, Storage Expansion, and Developer Options
To keep your Google TV device running smoothly over time, proactive app and storage management is essential. Google TV devices come with a set amount of internal storage (ranging from 8GB on older Chromecast models to 32GB on the Google TV Streamer). As you install more apps, cached data can accumulate and slow down system performance. To free up space, navigate to Settings -> Apps -> See all apps, select any high-use apps (like YouTube or Netflix), and select 'Clear cache.'
If you require more storage for offline media, large games, or additional applications, you can expand your device's storage capacity using a compatible USB-C hub. However, because a USB-C hub and connected flash drives or external SSDs draw additional power, the stock power adapter included with your Google TV device will not be sufficient to power both the streaming device and the hub. To avoid system instability or crashes, you must replace the stock power brick with a high-wattage USB-C Power Delivery (PD) charger—ideally 45W or higher—and connect it to the hub's power input port.
For advanced users, enabling Developer Options opens up further customization. Navigate to Settings -> System -> About, and scroll down to 'OS Build'. Press the Select button on your remote seven times consecutively until a notification appears stating that you are now a developer. This unlocks a new 'Developer Options' menu under System settings, where you can enable USB debugging, adjust window animation scales to make the interface feel faster (changing them from 1x to 0.5x or Off), or allow the sideloading of applications from third-party sources.
Sources: support.google.com
- https://support.google.com/googletv/answer/10050221?hl=en
- https://support.microsoft.com/windows
- https://support.google.com/chromecast/answer/15157762
- https://support.google.com/chromecast/answer/10094150
- https://support.google.com/chromecast/answer/15157668
- https://support.google.com/chromecast/answer/15158065
- https://support.google.com/chromecast/answer/15322770
- https://support.google.com/chromecast/answer/15273676
- https://support.google.com/googletv/answer/10050221